Nothing ruins a professional video faster than out-of-sync subtitles. When captions lag behind spoken dialogue by even a fraction of a second, the cognitive dissonance breaks viewer immersion, frustrates the audience, and destroys your average view duration (AVD).
If you have ever imported an SRT file into an editor only to find the text perfectly synced at minute 1, but lagging by 4 seconds at minute 45, you have experienced framerate drift. In this masterclass guide, we explore the exact mathematics of timecode drift, how to fix it, and how to seamlessly generate, format, and sync SRT subtitles across Adobe Premiere Pro, DaVinci Resolve, and CapCut. This process goes hand in hand with our CapCut export optimizations.
1. The Multi-NLE Subtitle Challenge
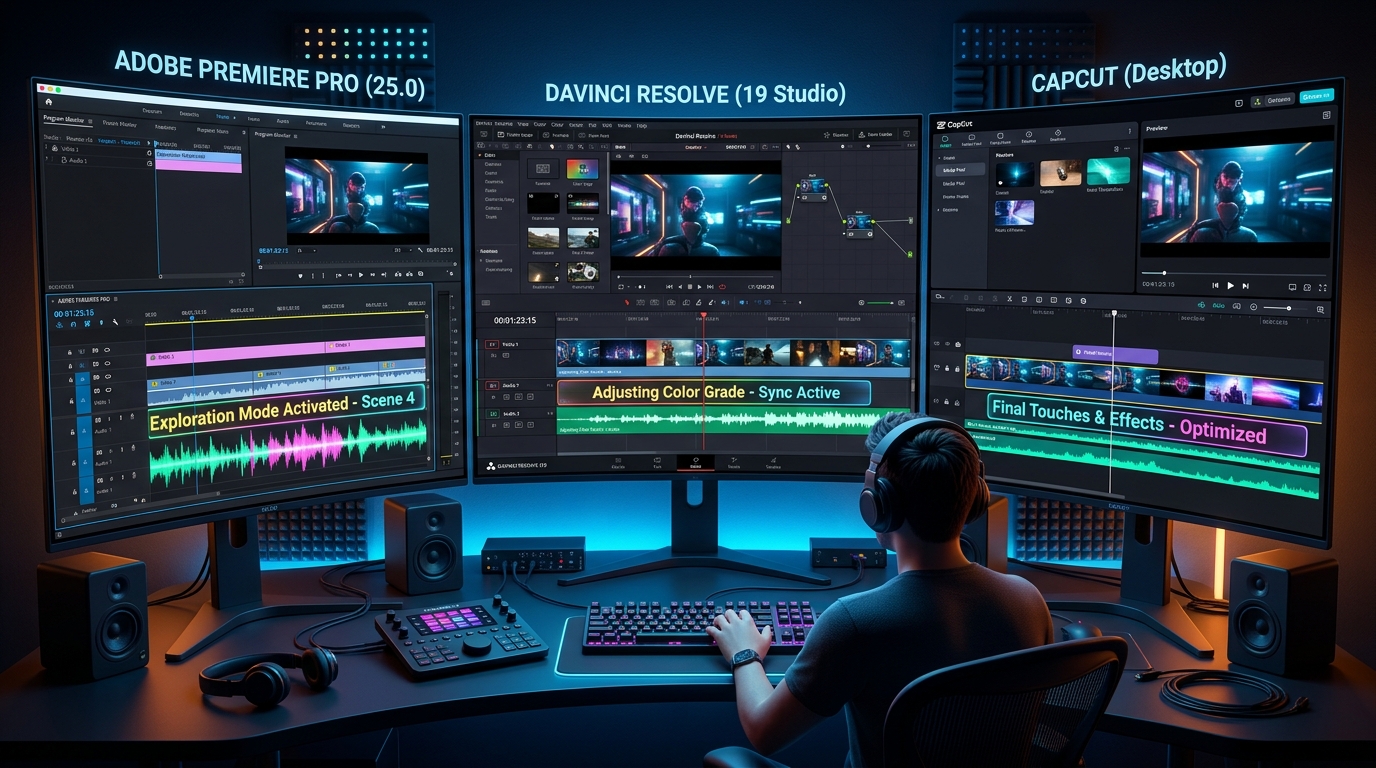
Video editors today rarely stick to a single editing tool. An editor might ingest footage and cut a 2-hour podcast in DaVinci Resolve (for its superior color grading), migrate the XML to Premiere Pro to apply complex motion graphic templates (MOGRTs), and finally export short 60-second vertical clips into CapCut for quick TikTok optimization.
However, each Non-Linear Editor (NLE) interprets external subtitle files slightly differently:
- Premiere Pro: Treats SRT captions strictly as Caption Tracks on a dedicated layer, or allows you to convert them into Graphic Elements for complex keyframe animations. It is highly sensitive to sequence framerate mismatches.
- DaVinci Resolve: Uses dedicated Subtitle Tracks. It handles global styling incredibly well but can be rigid when attempting to animate single words independently.
- CapCut: Prioritizes kinetic typography for mobile, but enforces a strict 42-character line limit. If your SRT file contains long paragraphs, CapCut will truncate and delete the text rather than wrapping it to a new line.
2. The Math of Framerate Timecode Drift (23.976 vs 29.97 FPS)
The most common, and most infuriating, cause of subtitle drift is a mismatch between your NLE sequence framerate and the timestamp reference in your SRT file.
Unlike video files, which are measured in "Frames" (e.g., Frame 1, Frame 2, Frame 24), audio is continuous. Audio transcription engines measure time in absolute real-time milliseconds (1,000ms per second).
3. Drop-Frame vs Non-Drop-Frame Timecodes
To fix this drift, television engineers in the 1950s invented Drop-Frame Timecode (often notated with a semicolon, like 01:04:12;15).
Because 29.97 fps is slightly slower than 30 fps, Drop-Frame timecode literally "drops" or skips counting certain frame numbers (frames 0 and 1 of the first second of every minute, except every tenth minute) to force the timecode counter to match absolute real-world wall-clock time.
If you import a Non-Drop-Frame SRT file into a Drop-Frame Premiere Pro sequence, the NLE attempts to map absolute milliseconds to skipping frames, causing an immediate sync error.
4. Adobe Premiere Pro: Importing & Styling Subtitles
Once you have a correctly formatted, time-aligned SRT file (like the ones generated by ScribeStamp), importing into Premiere Pro is highly robust:
-
Import the Asset: Go to
File > Importand select your.srtfile, or drag it straight into your Project Bin. - Drag to Timeline: Drag the SRT asset onto your sequence timeline above your video track. Premiere will ask you for a format. Choose Subtitle (not CEA-708, unless you are delivering to broadcast TV).
- Global Styling: Open the Text Panel and navigate to the Captions tab. Select all caption blocks on the timeline (Ctrl+A / Cmd+A). Open the Essential Graphics panel. Here, you can change the font (e.g., bold Montserrat), add a black background box, adjust the opacity, and set the Safe Area alignment. Because you selected all clips, the changes apply globally.
-
Convert for Animation: Standard caption tracks cannot be animated with keyframes (you cannot make them scale up or "pop"). To do this, select all captions on the timeline, go to the top menu bar, and click
Graphics and Titles > Upgrade Caption to Graphic. The captions will move to a standard video track, allowing you to apply keyframes, motion blur, and Drop Shadow effects.
5. DaVinci Resolve: Subtitle Tracks & Burn-in Options
DaVinci Resolve offers an incredibly powerful, native subtitle rendering engine designed for feature films.
- Import: Right-click inside the Media Pool and select Import > Subtitles. Select your ScribeStamp SRT file.
- Timeline Placement: Drag the subtitle track from the Media Pool onto your timeline. Resolve automatically creates a dedicated Subtitle Track at the very top of your layer stack.
- The Inspector Panel: Click on the Subtitle Track header, then open the Inspector panel on the top right. Here, click on the Track tab (not the Caption tab). Any changes made in the Track tab apply to all subtitles globally. You can adjust stroke width, drop shadow, font weight, and X/Y position.
- Burn-In vs Sidecar: When you navigate to the Deliver page to export your video, scroll down to the bottom of the Video settings and find Subtitle Settings. You must check "Export Subtitle" and select Burn into video if you want the text permanently baked into the pixels (hardcoded). If you select As a separate file, the text will not appear on the video, and instead, Resolve will just export another SRT file (softcoded).
6. CapCut: Beating the 42-Character Limit
CapCut is the undisputed king of short-form vertical video (TikTok, Instagram Reels, YouTube Shorts). However, its subtitle parser is extremely strict and fragile.
If you import a standard YouTube SRT file into CapCut, you will encounter the "Truncation Bug." CapCut refuses to display any caption line that exceeds 42 characters. Instead of wrapping the text to the next line, it literally cuts the string off, deleting the end of your sentence. Furthermore, CapCut struggles with any subtitle block that lasts longer than 7.0 seconds.
The Solution: When exporting your transcript from ScribeStamp, you must select the CapCut Tuned SRT option. Our engine algorithmically forces hard line breaks before the 42-character limit and subdivides long blocks to ensure they never trigger CapCut's parser limits.
Once you have the Tuned SRT, simply open CapCut Desktop, navigate to Text > Local Captions > Import, and drop the file in. You can then apply CapCut's native Template animations (like "Spring" or "Pop Up") to instantly create kinetic typography.
7. Advanced Workflows: XML / EDL vs SRT
For power users, SRT files have limitations. They only carry plain text and timestamps. They do not carry font sizing, colors, or positioning data (unless you use the much older WebVTT or ASS subtitle formats, which NLEs struggle to parse correctly).
If you are building complex editing automation, you may want to skip SRTs entirely and use FCPXML (Final Cut Pro XML) or EDL (Edit Decision List) formats. ScribeStamp can output XML files that tell Premiere Pro to generate native Essential Graphics text layers directly, preserving layout data and avoiding the "Upgrade Caption to Graphic" step entirely.
8. How ScribeStamp Eliminates Timing Drift Automatically
To prevent the framerate mismatch nightmare discussed in Section 2, ScribeStamp utilizes an absolute timeline.
Our Whisper engine calculates word-level microsecond timestamps directly from the decoded audio PCM wave. Because it calculates exact real-time sample positions based on the audio sample rate (e.g., 48,000 Hz) rather than assuming a video framerate, ScribeStamp's exported SRT files stay in 100% absolute frame-accurate sync regardless of whether your NLE sequence is set to 23.976 fps, 24 fps, 25 fps, 29.97 fps drop-frame, or 60 fps. Absolute milliseconds translate perfectly across all timelines.
9. Formatting Best Practices for Vertical Video (Reels, TikTok)
When importing subtitles for short-form vertical video, follow these specific UI rules to maximize viewer retention:
- The Y-Axis Danger Zone: Never place subtitles at the very bottom of a 9:16 video. The bottom 20% of the screen is covered by TikTok/Reels captions, usernames, and music track info. If you place your hardcoded subtitles there, they will be completely unreadable. Place them precisely in the center of the screen, or just slightly below the center-line (the speaker's chest area).
- Word Count Limits: The human eye cannot scan long sentences quickly enough on a small phone screen. Limit your subtitles to 3 to 5 words per block maximum.
- Color Highlighting: Use a bright contrasting color (yellow or neon green) to highlight the active word being spoken, anchoring the viewer's eye to the screen.